Stop Making These 10 PS5 Controller Mistakes
Most PS5 players have never changed their controller settings from factory defaults. Some have changed them, only to make things worse. Either way, the stock

Most PS5 players have never changed their controller settings from factory defaults. Some have changed them, only to make things worse. Either way, the stock DualSense configuration is a compromise designed to work for everyone rather than for a specific person, which isn’t necessarily a problem except that a few tweaks are enough to give you a massive performance leap.
With that said, we’ve rounded up some common PS5 controller mistakes we see from players every day, and how to fix each one. Some are free software changes. Some require a hardware upgrade. However, we can guarantee that fixing these PS5 controller mistakes will make your controller feel noticeably better.
The dead zone is the area around the stick’s center position where input is ignored. Factory defaults are set high (typically 10 to 15%) to mask the early stages of potentiometer stick wear. If your controller is brand new or uses TMR sticks that do not wear, you are throwing away 10 to 15% of your usable stick range for absolutely no reason. That wasted range translates directly to slower initial camera response. You push the stick, and nothing happens until you cross the dead zone threshold.
In a fast-paced shooter like Battlefield 6 or Call of Duty: Warzone, that fraction of a second delay is the difference between landing a shot and getting killed while your camera catches up.
The fix: lower your dead zone to 5 to 7% if your controller is less than 6 months old. If your sticks are TMR or Hall Effect, you can safely go as low as 3 to 5% with zero drift risk. Test with a browser-based gamepad tester to find the lowest value without idle drift. If you need a dead zone above 10% to prevent drift, your sticks are wearing out, and the dead zone is a bandage solution that you can only fix with a stick upgrade or a new controller.
A sensitivity setting that works for Gran Turismo 7 will be catastrophic in Apex Legends. A setting tuned for Elden Ring will feel sluggish in Call of Duty. Every game has different camera speeds, aim mechanics, and input curves. Using one sensitivity across all of them means you are always compromising somewhere.
The fix: set your sensitivity per game. Most PS5 games have in-game sensitivity sliders. Shooters generally need higher horizontal sensitivity for fast turns and lower vertical sensitivity for stable aim. Racing games require moderate sensitivity to ensure smooth steering inputs. Third-person action games sit somewhere in between. Spend 5 minutes in each game’s settings menu and tune to the genre. Our game-specific settings guides for titles like Resident Evil Requiem and ARC Raiders provide exact values.
Some players turn aim assist off because they think it is cheating. Others leave it at maximum and wonder why their crosshair feels sticky. Both are mistakes.
Aim assist is designed to compensate for the inherent imprecision of analog sticks compared to a mouse. Turning it off on a controller puts you at a hardware disadvantage for no competitive benefit. Maxing it out creates an overreliance on the tracking system, making your aim feel inconsistent when the assist disengages.
The fix: set aim assist to a moderate level (around 60 to 70% or 3 to 4 on a 1-to-5 scale, depending on the game). Use “Follow” or “Standard” mode rather than “Snap” mode. Follow provides smooth tracking assistance. Snap jerks your crosshair toward targets, which feels responsive initially but breaks your muscle memory for manual tracking.
Adaptive triggers are one of the DualSense’s best features for immersion. Feeling the tension of a bowstring in Horizon Forbidden West or the resistance of a racing brake in Gran Turismo 7 genuinely enhances the experience. Unfortunately, in a competitive multiplayer title, it’s that trigger resistance that adds milliseconds to every shot.
In Call of Duty, Apex Legends, or Fortnite, you want the trigger to fire the instant you press it. Adaptive resistance works against that. It slows your trigger pull and introduces variable input timing.
The fix: disable adaptive triggers in competitive games. Go to Settings > Accessories > Controllers > Trigger Effect Intensity and set it to Off for multiplayer sessions. Re-enable for singleplayer immersion. If you want permanently fast triggers, TCP’s digital trigger modification converts your triggers to mouse-click-style instant actuation.
Every time you press X to jump, Circle to crouch, or Square to reload, your right thumb leaves the camera stick. For the duration of that input, you lose camera control. In competitive FPS games, that dead frame is when you get shot.
This is not a skill issue. It is a hardware limitation of a controller with all critical inputs on the face buttons. Mouse and keyboard players never face this trade-off because movement (WASD) and aim (mouse) are on different hands. On a standard DualSense, movement, aim, and face button actions all route through the same two thumbs.
The fix: remap jump, slide, or crouch to rear inputs. The DualSense does not have built-in back buttons, but the PS5’s accessibility button remapping (Settings > Accessibility > Controllers > Custom Button Assignments) lets you swap face buttons to other inputs. For a proper solution, TCP’s ClickSticks back buttons on the TCP Pro controller give you two dedicated rear inputs with a flush mechanical design that eliminates accidental presses.
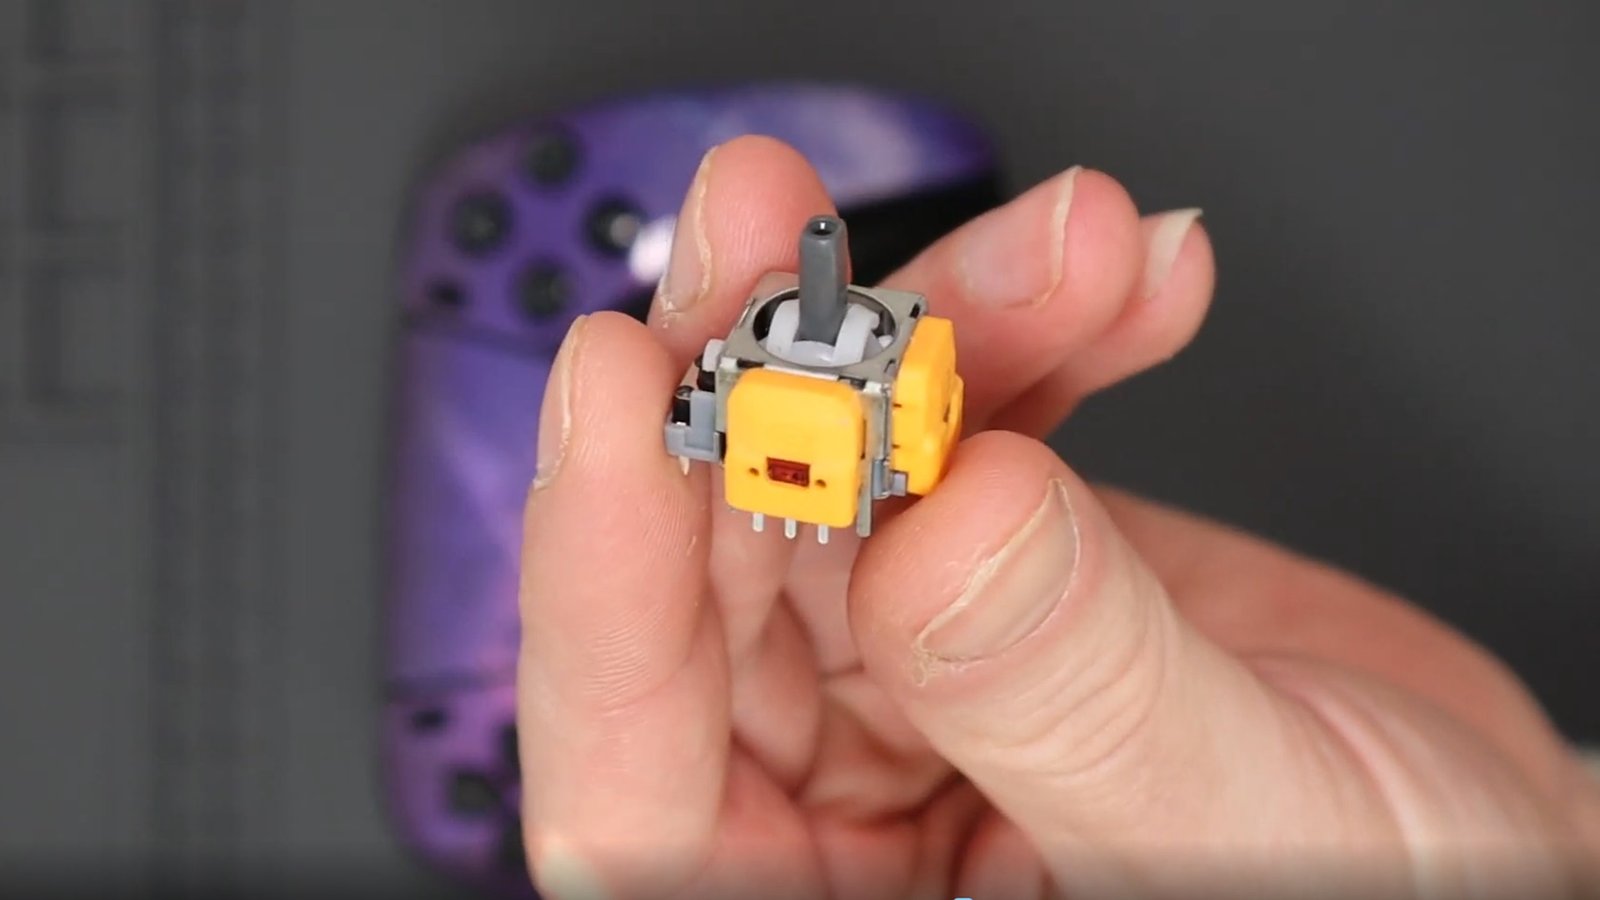
Early stick drift is subtle. Your camera creeps slightly to one side when you are not touching the stick. Your aim feels inconsistent even though your settings have not changed. Your character moves on their own in menus. Most players do not recognize this as drift. They blame the game, their sensitivity settings, or their own aim.
What actually happens: the potentiometer inside the stick has worn just enough to send noisy signals to the controller. You subconsciously compensate by raising your dead zone, which masks the drift but reduces your stick’s responsive range. You are now playing with a handicap you created to fix a hardware problem.
The fix: test your sticks. Connect your DualSense to a PC and use a browser-based gamepad tester. If the axis values move when you are not touching the sticks, you have hardware drift. TCP’s stick drift repair service starts from £24, or you can upgrade to TMR sticks that never drift for £35.
The DualSense’s haptic feedback is impressive. It is also a significant battery drain. Running vibration at Strong intensity alongside the light bar at full brightness reduces your battery life from 7 to 8 hours to 4 to 5 hours. That is a 40% reduction in play time.
The light bar is also a distraction if you play in a dark room. It reflects off your TV screen, particularly on glossy panels.
The fix: set vibration to Medium or Weak for competitive play. Set the light bar brightness to Dim (Settings > Accessories > Controllers > Brightness of Controller Indicators > Dim). You save significant battery life and remove a visual distraction. If you want maximum battery savings, disable vibration entirely and reduce the light bar to its minimum setting.
Sony releases periodic DualSense firmware updates that improve Bluetooth stability, input calibration, and feature compatibility. Many players never update because the prompt is easy to dismiss and the controller seems to work fine without it.
What you miss: improved dead zone calibration, better Bluetooth reconnection behavior, and bug fixes for specific games. Outdated firmware can also cause connection drops and phantom inputs that mimic drift.
The fix: connect your DualSense to your PS5 via USB. Go to Settings > Accessories > Controller and check for updates. On PC, download the PlayStation Accessories app from the Microsoft Store, connect via USB, and update from there. This takes under 2 minutes and should be done whenever Sony releases a system software update.
Single-player games are about immersion. You want haptic feedback on, adaptive triggers at full intensity, vibration at Strong, and the light bar pulsing with in-game events. Multiplayer games are about speed. You want haptics off, triggers instant, vibration minimal, and nothing between you and your inputs.
Using one configuration for both means you are either sacrificing immersion in single-player or sacrificing performance in multiplayer. The DualSense does not have built-in profile switching, but you can create the effect manually.
The fix: before switching between single-player and competitive multiplayer, spend 30 seconds adjusting three settings. Trigger Effect Intensity: Strong for singleplayer, Off for multiplayer. Vibration Intensity: Strong for singleplayer, Weak or Off for multiplayer. Communication Method: keep the same. This takes less time than loading into a match and makes a real difference in competitive responsiveness.

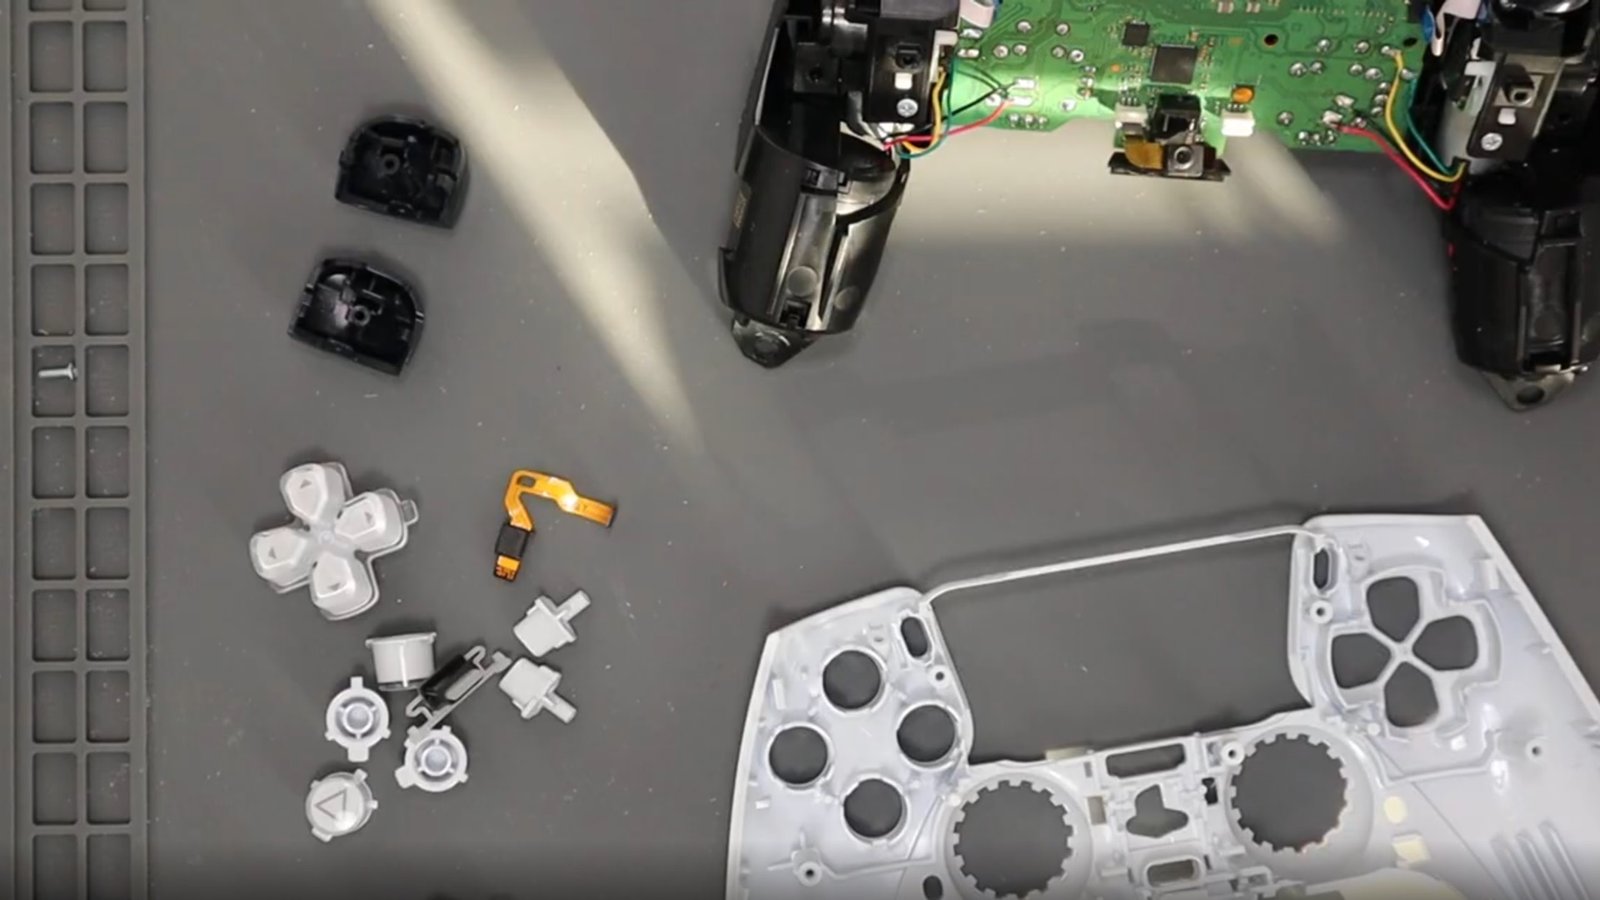
Software settings have limits. You can optimize dead zones, sensitivity, aim assist, triggers, and vibration all day, and you will still hit ceilings that software cannot break. Stick drift cannot be fixed with settings. Trigger travel cannot be shortened with a menu option. Back buttons cannot be added through accessibility remapping without losing another input.
Some problems are hardware problems. They need hardware solutions.
TMR and Hall Effect sticks eliminate drift permanently, not by masking it with dead zones, but by removing the mechanical wear that causes it. Digital triggers cut actuation time to near-instant, not by adjusting a sensitivity slider, but by physically replacing the analog trigger mechanism. ClickSticks add back buttons without any input trade-off.
The fix: if you have optimized every software setting on this list and still feel limited, the bottleneck is your controller hardware. TCP’s modifications page covers every available upgrade. The TCP Pro (£135 to £140) includes TMR sticks, digital triggers, and ClickSticks in one build. The TCP Ultimate (£165 to £190) adds IAS adjustable stick heights, an individual D-pad, and premium grips.
Most of these fixes to these common PS5 controller mistakes take under a minute. Things such as lowering your dead zone, adjusting sensitivity per game, configuring aim assist properly, disabling adaptive triggers in competitive play, and updating your firmware. These are free improvements that every PS5 player should make.
The mistakes that software cannot solve, such as stick drift, trigger travel, and missing back buttons, are the ones where TCP’s hardware picks up where settings leave off. Browse the full range of modifications, check out the TCP Pro controller, or fix your drift with our stick drift repair service. For more controller optimization, our 10 hidden PS5 controller tips and tricks guide covers the features most players never discover.
If your problems go beyond settings, our PS5 controller problems guide covers all 12 common DualSense hardware issues.

Most PS5 players have never changed their controller settings from factory defaults. Some have changed them, only to make things worse. Either way, the stock

The PS5 DualSense is one of the best controllers ever made. It has adaptive triggers, haptic feedback, a built-in speaker, a touchpad, and a comfortable

We know. We know. The latest Resident Evil game came out weeks ago (February 27, 2026), so our best PS5 controller settings for Resident Evil
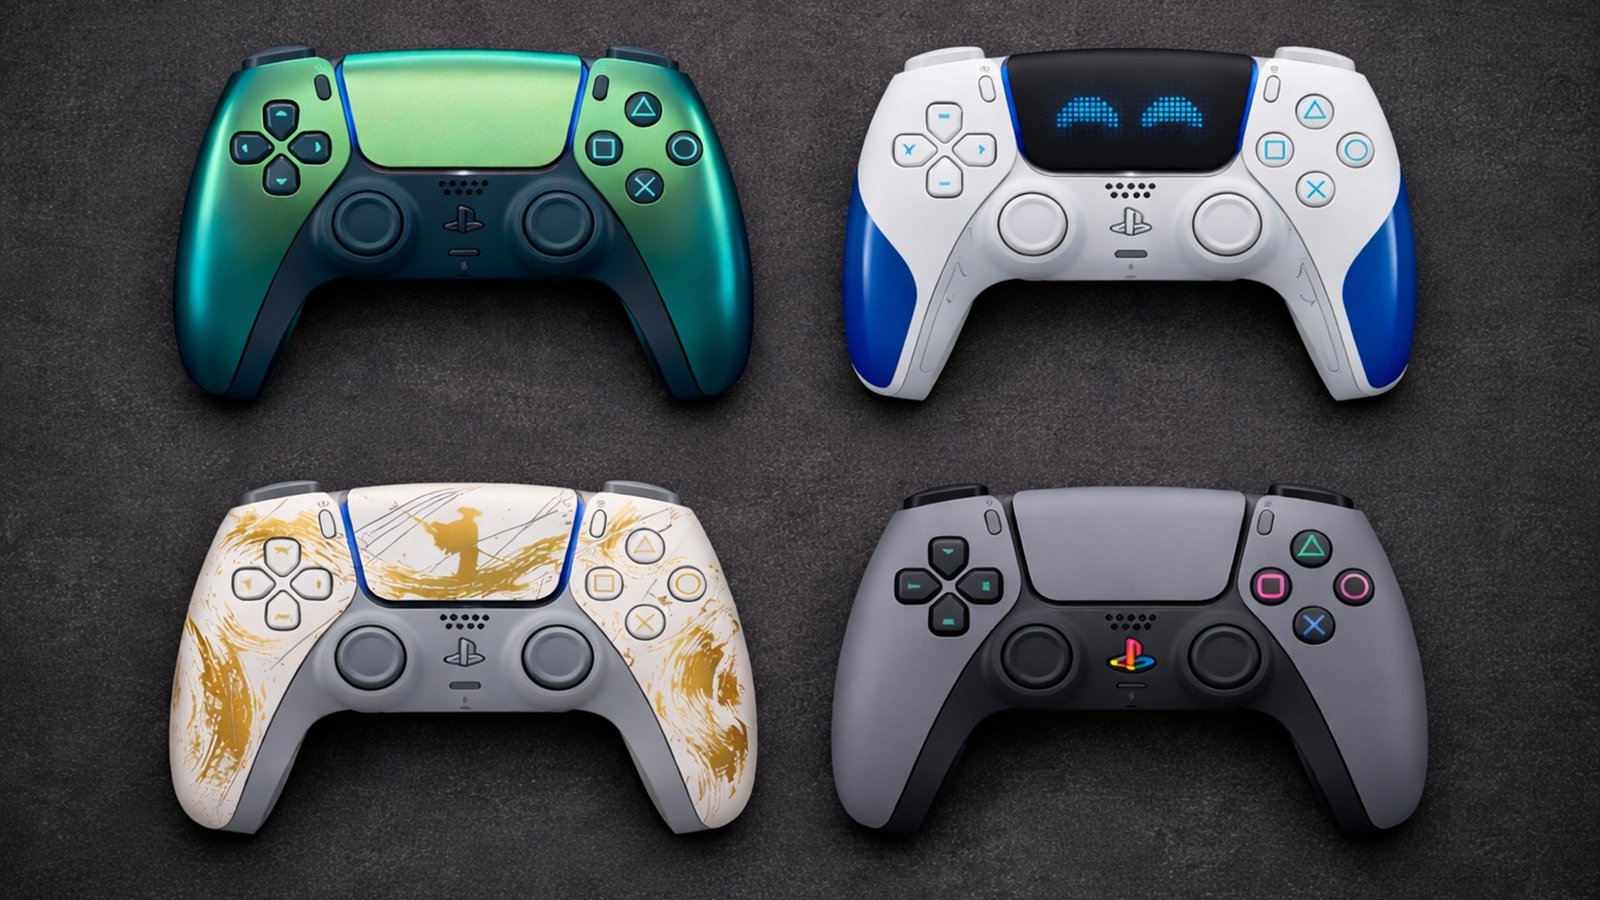
Sony has released over 30 limited edition PS5 DualSense controller colours and theemes the PS5 launched in November 2020. Some are genuinely stunning, but you
No comment yet, add your voice below!