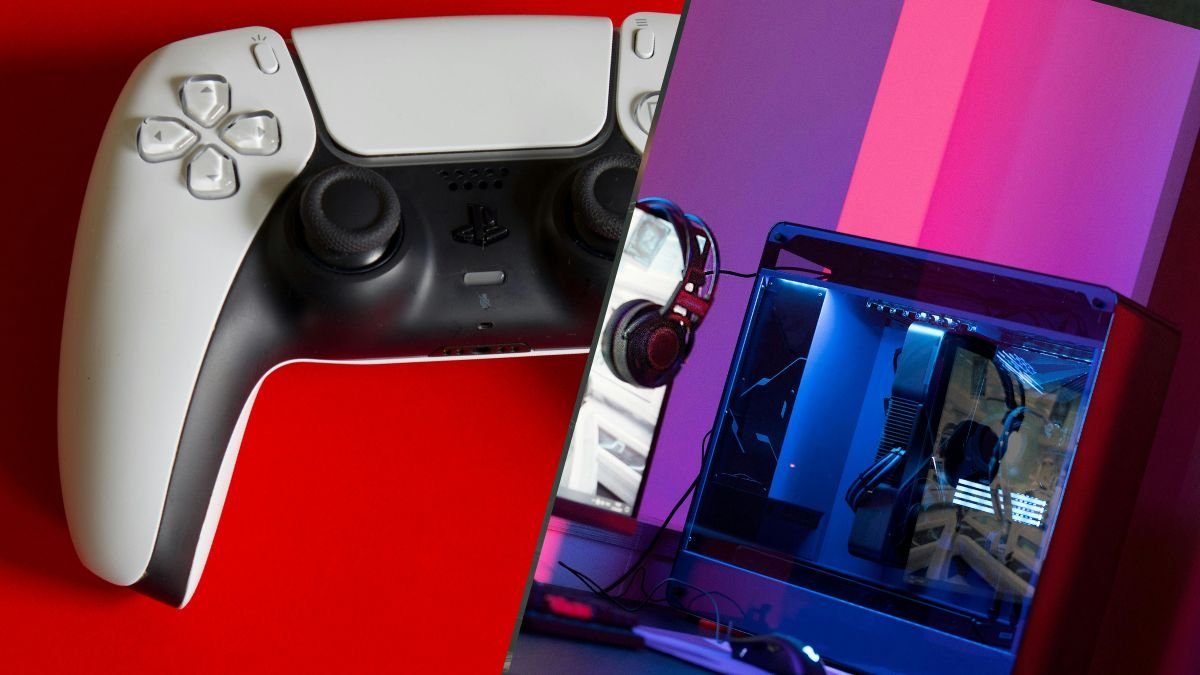
When your PS5 controller starts behaving oddly, the first reaction is often to ship it off for repair. After all, who wants to play PS5 games with an unresponsive trigger, a sticky button, or the dreaded stick drift, right? But before you do, you’ll want to scroll down below for our PS5 controller DIY repair checklist to save time and money.
Below are PS5 controller DIY repair tips you should try before booking a repair with The Controller People.
Check #1: Identify Stick Drift
Stick drift is one of the most common faults. You’ll see your in-game view moving even though you’re not touching the stick or experiencing input lag when you push it.
To test: With your PS5 on and controller connected, go into the system’s controller settings or any game with a calibration pad. Leave the thumbstick alone. If the cross-hair or camera moves, that confirms drift. Also, push the stick in all directions slowly and check for “dead zones” where nothing happens.
If drift is minimal (small movement/lag) you might try cleaning around the joystick base with compressed air or non-alcohol-based contact cleaner, but if the drift is obvious you’ll need our specialist service.
Check #2: Trigger pull and button responsiveness
If you’re finding the triggers (R2/L2) require full travel before firing, or they feel mushy, something is off.
What to do: Load a game or use the PS5 settings menu and check how triggers respond. Is there a delay after you push? Does the trigger feel soft or inconsistent? Press each face button and shoulder button and see whether the input registers instantly or there’s a hesitation.
If there’s some delay, you’ll want to write “R2 takes two presses to register” down and let The Controller People know when sending in your PS5 controller for repairs.
Check #3: Face-buttons, D-pad and remap testing
If certain face buttons don’t respond or double-tap unintentionally, your pad might need a full button replacement.
What to do: Use the PS5’s built-in controller menu under “Accessories” to test each button one at a time. Map a known consistent key to each button and cycle through. For the D-pad, check diagonal presses, as these often fail before the main directions. If anything sticks or fails to register every press, note which input it is and when the failure happens. Providing this information speeds up the technician’s diagnosis.
Check #4: Recharge and battery behaviour
If your controller dies unusually fast or fails to charge fully, that suggests a battery or charging circuit issue.
Before shipping it in: check what the PS5 menu shows under battery level. Fully charge it, then check after 30-60 minutes of idle to see if the level drops significantly. If it does drop quickly, then you should include a note such as “battery drops 20% in 30 minutes while idle”. Knowing what you observed helps the repair team isolate whether they need to replace the battery or test the USB-C port.
Check #5: Firmware and software update
Sometimes what seems like a hardware fault is actually software.
What to do: Go to your PS5 system settings and check the controller firmware version. If there is an update available, run it. After updating, retest the symptoms you were seeing. If the issue persists, you can rule out firmware as the cause and send it in with confidence. This step saves unnecessary shipping and repair costs.
Check #6: Check USB-C port and cable
A faulty USB-C port or damaged cable might make you believe your controller is malfunctioning.
What to do: Inspect the port inside the controller for bent pins or debris. Use a known good USB-C cable and connect it to the PS5 and charge. If the cable doesn’t fit snugly or the port is loose, note this. Also, try using a wired connection in-game and see if any inputs behave differently. If the problem disappears when wired, that hints strongly at port or wireless board issues.
Check 7: Grip and shell wear
Cracks, broken body, and worn-out grips don’t always mean that your PS5 controller will stop working, but it can make certain issues worse.
What to do: Inspect the shell carefully, especially around the sticks, triggers, and where cables enter. If you spot cracks, splits, or missing screws, photograph them and include the images when you submit the unit for repair. If the shell is loose, you may want to ask the repair team for a shell-only replacement rather than a full board repair.
Check #8: Note the environment and frequency of faults
When describing the issue to the repair centre, it helps to know when the fault occurs. Does the drift happen only after long sessions? Does a button fail only in one game? Does the trigger miss only during rapid presses? Keep a short log or mental note of what you were doing when the fault showed up: game title, session length, input sequence. This data helps the technicians replicate the problem and choose the correct parts.
Check #9: Test remap profiles and settings
If you use any remapping or profiles (for example rear buttons, click-sticks, paddle modules) make sure to test them too. If you changed a profile and then the issue began, revert to the default settings and test it again.
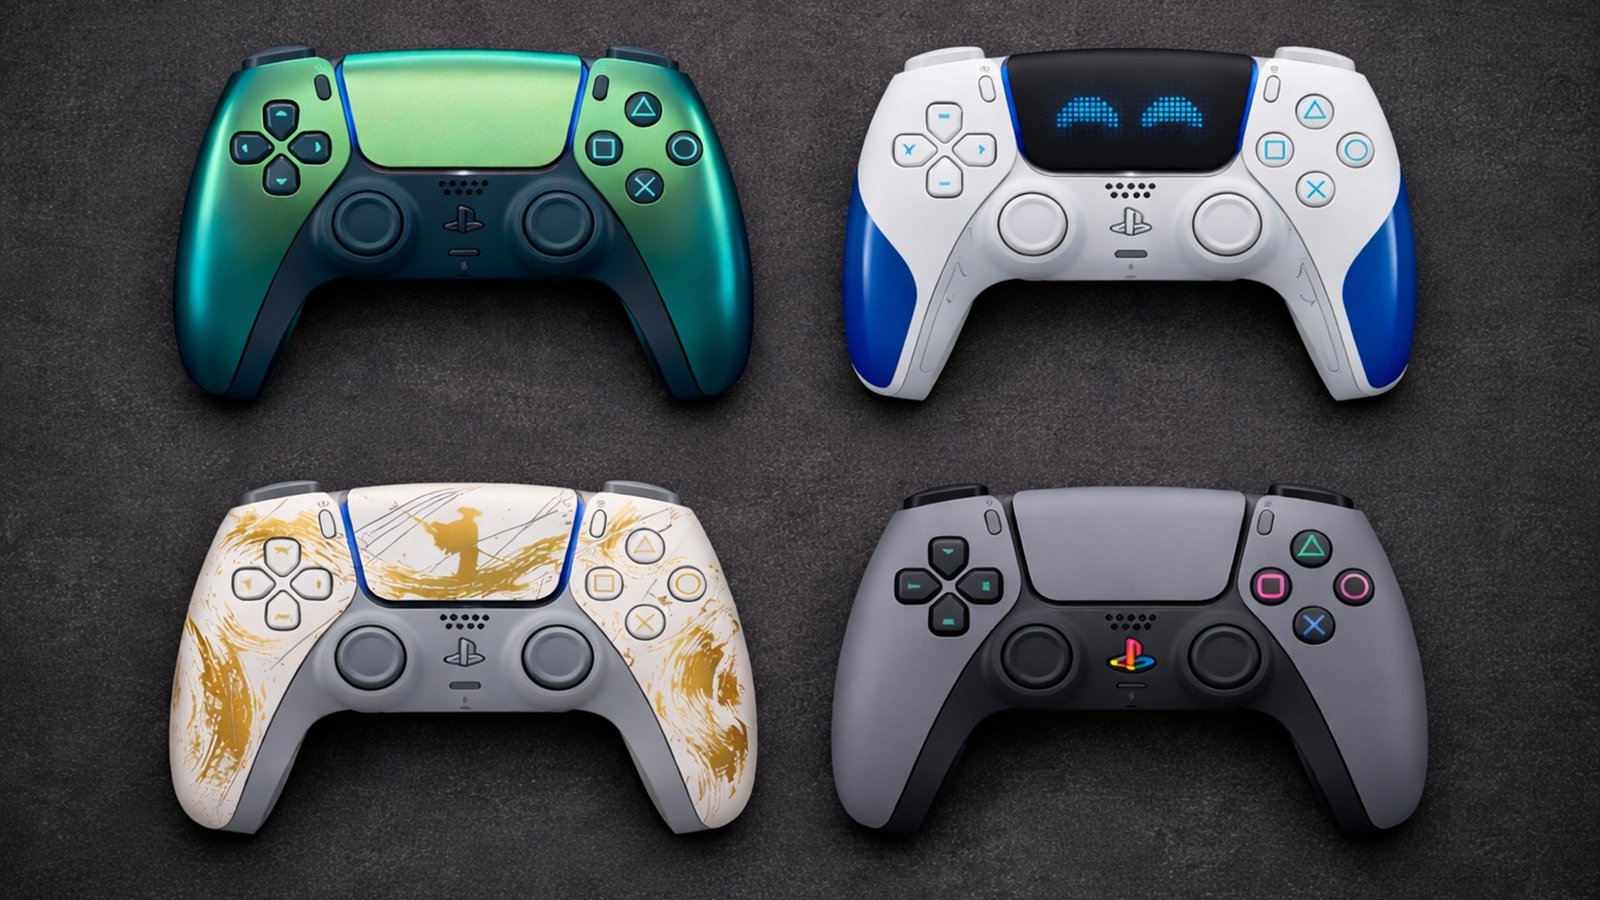
For example, our custom PS5 controllers often include remappable back buttons and ClickSticks. An unbalanced remap may cause issues.
If the issue doesn’t return under default settings, it could’ve been caused by a mis-configured profile. However, if it comes back, the hardware could be faulty. Make sure to note this when sending in your PS5 controller for repair.
Check #10: Back up your settings and data
Before sending in your controller, go to the PS5 settings and back up any custom button layouts, stick calibrations, sensitivity settings, or user profiles. While most repairs don’t affect your console settings, it’s good practice. Include a note to the repair team about your layout so they can restore the default and then apply any custom build behaviour again if you request it.
Shipping your PS5 controller for repairs
If you’ve followed our PS5 controller DIY repair tips and the problems remain, you’re ready to get a professional repair from us.
When you send your PS5 controller in, we recommend including:
- A short summary of your tests above
- The make, model, and build of the controller (if custom-built)
- The exact input(s) showing failure and when they fail
- Whether issue happens wired or wireless
- Your custom layout (if you use one)
- Any physical damage you observed
This level of detail helps us diagnose the issues with your PS5 controller faster, and it may help reduce the turnaround time.
Ready to Book a Repair?
These PS5 controller DIY repair tips are exactly what they are: tips that you can do at home. They aren’t meant to replace expert repair. But it does two things: it helps you save time and money by checking if you can fix your PS5 controller yourself, avoiding unnecessary replacements and repairs, and it guides the technician in the right direction.
Here at The Controller People, we offer stick drift, trigger faults, charging issues, and button problems for your gaming controller.
If you’d like help deciding whether your PS5 controller is still worth repairing or you want advice on diagnostics, feel free ot reach out to us.


No comment yet, add your voice below!