

PS5 DualSense Controller Button Repair
£24.00
Are your PS5 DualSense controller buttons becoming unresponsive, sticking, or registering incorrect inputs? You are not alone. These faults often occur due to worn contact pads, internal dirt, or damaged button membranes, but this does not mean you need to replace your controller.
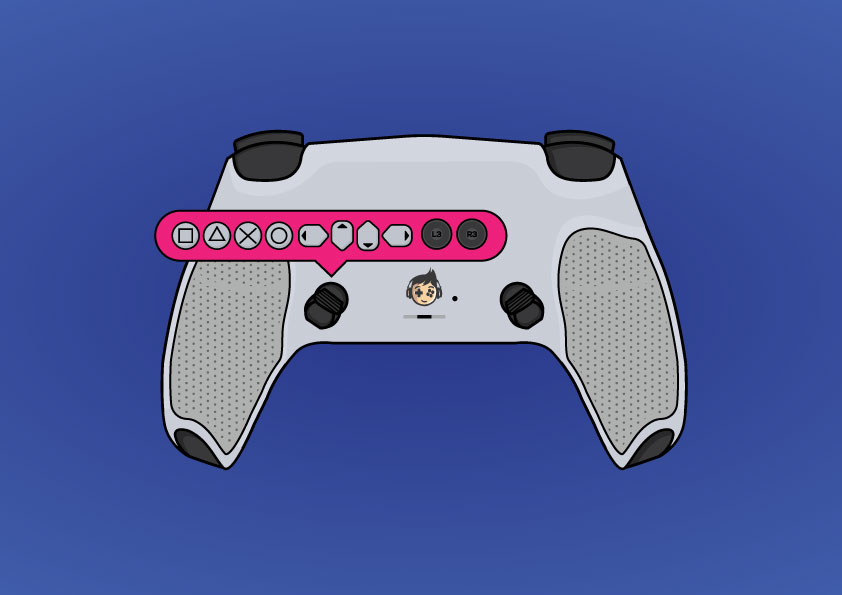
Our professional PS5 DualSense Controller Button Repair Service restores your DualSense controller by identifying and resolving issues with non-functioning face buttons. Whether it is the X, O, triangle, square, D-pad, or touchpad button that is not working properly, we will repair or replace the faulty components to restore full functionality.
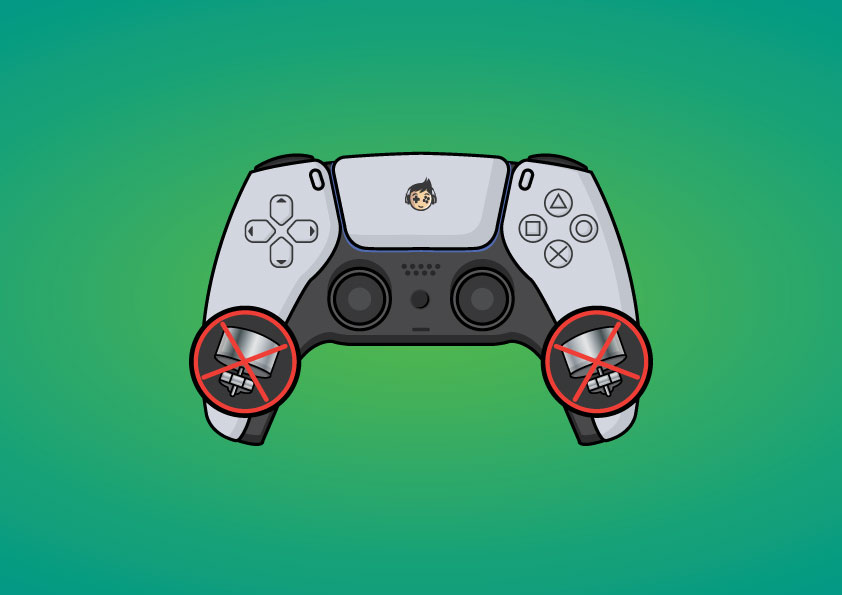
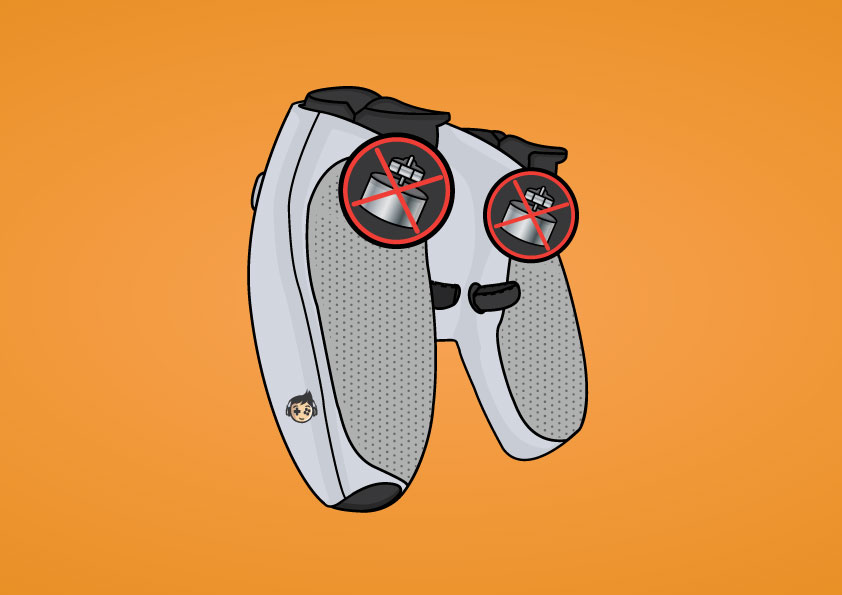
Send us your controller for inspection. If needed, we will carry out precise repairs or a full button replacement. This UK-based service costs £24.00, includes a three-month warranty, and provides clear communication throughout. With fast turnaround, reliable testing, and a focus only on button faults (not triggers), you can count on us to bring your controller back to life.
How we work▼
Step 1: Place your order
Place an order by clicking on add to basket and complete your purchase. You will receive a confirmation email containing the send-in address and instructions.
Step 2: Send us your controller
Package your PS5 DualSense controller securely and include your order number and email. Post it to the address provided.
Step 3: We repair and return it
Our technician inspects and repairs the faulty buttons, either through internal cleaning or part replacement. After testing the controller, we send it back to the delivery address you gave at checkout.
Free Return Postage
Got a question?
Description
Understanding PS5 DualSense Controller Button Failure
Button problems on the PS5 DualSense controller can cause significant disruption to gameplay. Whether a button fails to register, sticks after pressing, or activates intermittently, these faults affect responsiveness and precision. Common examples include the X button not responding in quick-time events or the D-pad failing to register directional input.
These issues are typically caused by internal wear on the conductive membrane, dirt or residue beneath the button, or a damaged flex cable. Over time, frequent use can degrade the physical components that make each button responsive. Recognising these signs early makes it easier to determine whether a basic clean or a full repair is needed.
Causes of PS5 DualSense Controller Button failure
There are a few common reasons why your PS5 buttons might stop working as they should:
- Dust or grime building up underneath the button cap
- A worn-out rubber membrane that no longer makes proper contact
- Contact pads on the circuit board becoming less responsive
- The internal flex ribbon getting damaged or loose
- Pet hairs or spilled drinks affecting the button area
Even a small bit of dirt or damage can stop a button from working properly. These issues usually need a proper clean or part replacement to fix them fully.
Signs of faulty PS5 DualSense Controller Buttons
Recognising the signs of button failure is the first step towards getting your controller working properly again. Common indicators include:
- You press a button and nothing happens, even though you’re in the middle of gameplay.
- A button only works if you push it really hard or press it more than once.
- One press leads to two actions being triggered, which usually points to a worn contact pad.
- The D-pad feels loose or only responds when pressed from a specific angle.
- The PS button or touchpad stops responding or feels soft with no feedback.
- Button presses feel delayed or the action on screen happens too late.
If your inputs don’t feel reliable or if your game reacts unpredictably to button presses, it’s a strong sign that something inside your controller needs to be cleaned or replaced.
Diagnosing the PS5 DualSense Controller Buttons Problem
Once you’ve recognised the symptoms of faulty PS5 DualSense controller buttons, the next step is diagnosing the issue. This involves running a few basic tests to work out what is actually going wrong inside the controller. By checking how each button behaves during gameplay or while connected to a PC, you can tell whether the fault is caused by dirt, wear, or something more serious like a broken contact membrane or damaged flex cable.
Testing button response on your PS5 DualSense controller
To see if a button on your PS5 controller is faulty, follow these steps:
- Connect your DualSense controller to a PC using a USB cable.
- Go to the “Set up USB game controllers” menu and open the controller properties.
- Press each button and check if the input shows instantly and every time.
- If a button doesn’t respond, only works sometimes, or needs to be pressed harder, there’s likely a problem.
- You can also try an online gamepad tester for visual feedback on button presses.
- If you’re testing through a console, try using menus or games where each button has a clear function to compare the response of faulty and working buttons.
Identifying button faults during gameplay
Observe how the controller’s buttons respond during different in-game actions. Pay attention to what happens when you press a face button, use the D-pad, or try to bring up the system menu. If the input only works some of the time, feels delayed, or triggers an unintended action, it’s a strong indication that the button mechanism is not working properly and needs attention.
You may notice specific situations where your character doesn’t jump or attack when you press the button, or you miss a quick-time prompt despite pressing it on time. These signs usually point to an internal contact issue or wear in the rubber membrane beneath the button.
Using basic tools to check for internal issues
Use a few simple tools to carry out an early check on what might be causing the button problem. Start by resetting the controller using a paperclip in the small hole at the back. After resetting, test the buttons again to see if anything has improved.
If there is no change, try gently cleaning around the button caps using a cotton swab with a small amount of isopropyl alcohol. Look closely to see if there’s any dirt, sticky residue, or obstruction around the edges of the affected button.
For users comfortable opening devices, use a PH00 screwdriver and a plastic prying tool to open the controller and inspect the rubber membrane and contact area beneath the button. If the rubber feels torn, loose, or has dirt underneath, that may be the cause of the issue.
Even without opening the controller, observing the button’s feel and resistance during presses can help you determine whether it’s a physical blockage or something deeper on the board.
Solutions for PS5 DualSense Controller Button Repair
To fix PS5 DualSense controller button faults, start with basic fixes like cleaning around the button caps and resetting the controller. If these steps don’t work or you would rather avoid the hassle, our expert repair service will restore your controller’s button function quickly and reliably.
Reset the controller (quick test)
One of the first things to try is resetting the controller. Use a paperclip to press the small reset button located on the back of your DualSense controller. Hold it in for a few seconds, then reconnect the controller and test the buttons again.
This can sometimes recalibrate the internal system and clear out any temporary software issues that may be affecting button response. While it won’t fix physical problems, it’s a quick step worth taking before moving on to deeper repairs.
Cleaning around the button caps (basic fix)
Dirt, dust, or sticky residue around the edges of the buttons can often cause them to feel stuck or unresponsive. Use a cotton swab lightly dampened with isopropyl alcohol to clean around the affected button. Gently press the swab into the gaps and rotate it to loosen any debris.
Let the controller dry for a few minutes, then test the button again. This method is especially useful if food, drinks, or general grime has built up around the buttons from regular use. While it won’t solve internal faults, it can often restore smooth movement and improve contact in minor cases.
Cleaning with isopropyl alcohol (only if already available)
If you have a bottle of isopropyl alcohol at home, you can try using it to clean around the affected button. Dip a cotton swab lightly into the alcohol and gently work it around the button edges, pressing the button repeatedly to help draw the liquid through the gaps.
This method can help break down any sticky residue or light build-up that might be affecting movement or response. It won’t repair internal wear, but if the issue is minor and caused by surface grime, this can sometimes restore proper function.
We wouldn’t recommend buying isopropyl alcohol just for this, but if you already have some, it’s worth trying before going for a full repair.
Step-by-step tutorial for repairing PS5 DualSense Controller Button faults
In this repair tutorial, we’ll explain how our technicians fix PS5 DualSense controller button faults to restore full responsiveness and accuracy during gameplay. From the tools required and disassembly process to cleaning or replacing worn parts, here’s what happens during a professional button repair carried out by our team.
Required tools to repair button issues
Before starting a PS5 DualSense controller button repair, the following tools are needed:
- A small PH00 Phillips screwdriver to remove screws from the controller housing
- A plastic prying tool to separate the controller casing without causing damage
- A cotton swab for cleaning around the buttons and internal components
- Isopropyl alcohol to remove dirt and residue
- A replacement rubber membrane if the original is worn or torn
- Tweezers or fine-tip tools for handling small internal parts
- An anti-static mat or clean workspace to avoid damaging sensitive components
Having these tools ready helps ensure the repair is done safely and properly without damaging any part of the controller.
Opening the controller to access the button system
- Begin by removing the screws from the back of your PS5 controller using a PH00 screwdriver. There are four screws located under the back shell.
- Use a plastic prying tool to gently separate the rear shell from the front. Work your way around the edges without applying too much pressure.
- Carefully lift off the back panel, starting from the grips where it separates more easily.
- Disconnect the battery connector from the motherboard using a plastic tool or your fingernail.
- Unscrew the midframe to access the mainboard and button areas.
- Once the board is exposed, gently lift it to reveal the rubber membranes and button contact pads underneath.
- Inspect the membranes for any wear, damage, or misalignment that could be causing the button issue.
- Check the contact pads on the board for residue, corrosion, or physical marks.
- Clean the membrane and contact surface using a cotton swab and isopropyl alcohol. Let it dry before reassembling the controller.
Replacing the Rubber Membrane
- Start by locating the rubber membrane under the faulty button once the controller is open.
- If it looks worn, loose, or torn, it will need to be replaced to get the button working properly again.
- Gently lift the old membrane from the board. It should come off without much effort. Make sure nothing is left behind.
- Take the new membrane and line it up with the pegs or guides on the board. It should drop into place without needing to force it.
- Press it down lightly so it sits flat and evenly across the contact area.
- Once the new membrane is fitted, you can reassemble the controller and test the button to make sure the response feels right.
This process helps restore proper input registration and button feel if the fault is caused by physical wear or grime.
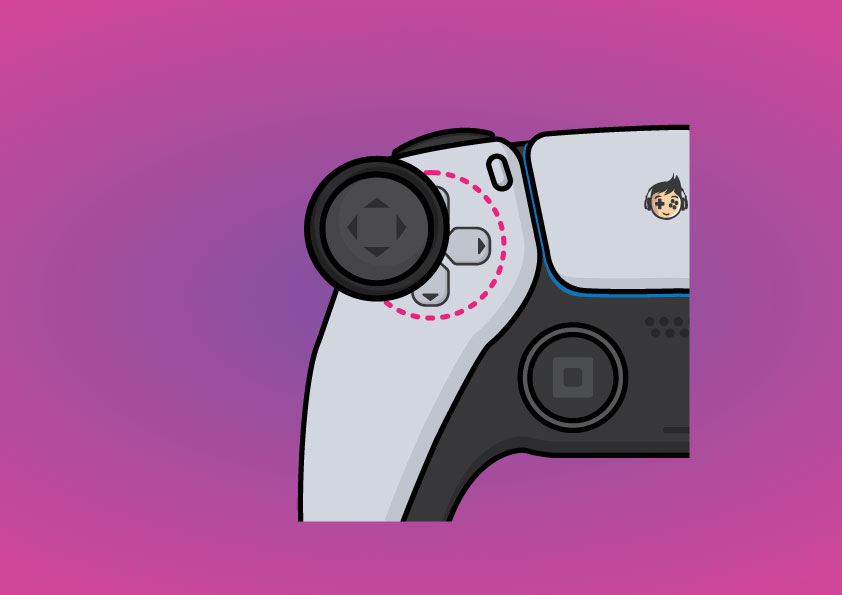
If your X, Circle, Triangle, or Square button isn’t responding, you’ll need to inspect the rubber membrane and contact area on the right side of the board.
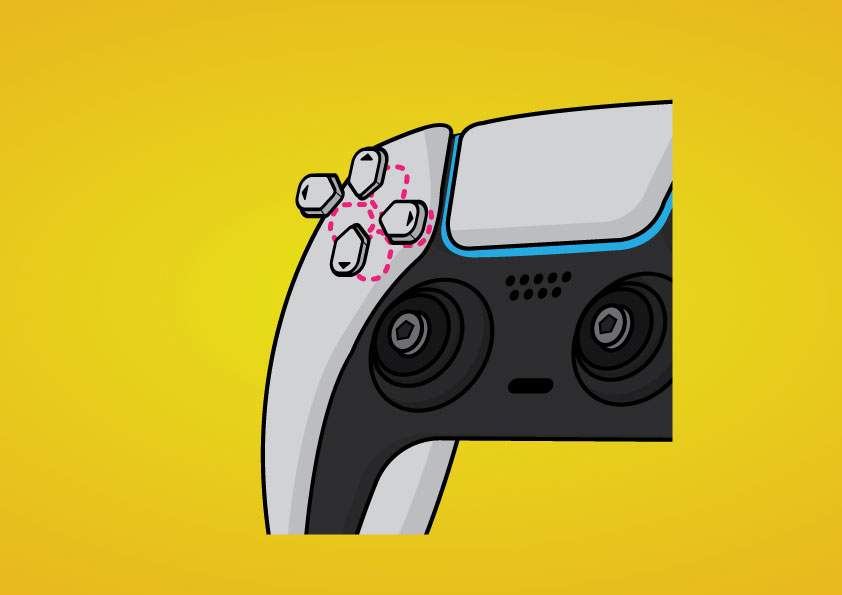
If the D-pad is not registering correctly, focus on the left-side button membrane.
Tips to prevent future button malfunctions
To keep your PS5 controller buttons working properly over time, follow these simple tips:
- Keep the controller clean and away from food, drinks, or greasy hands during use.
- Use a soft cloth or cotton swab with isopropyl alcohol to clean around the buttons every few weeks.
- Avoid pressing buttons with excessive force, especially during high-pressure gameplay.
- Store the controller in a clean, dust-free drawer or box when not in use.
- Avoid dropping the controller or placing weight on it, as this can misalign or damage the internal button structure.
- Do not use the controller while charging if the cable placement puts stress on the buttons or the case.
Regular care can help reduce the risk of button wear, sticking, or unresponsiveness and extend the life of your controller.
When to seek professional repair for PS5 DualSense button issues (we can help)
If you’ve tried cleaning, resetting, and checking your controller but the buttons are still unresponsive or inconsistent, it’s time to consider a professional repair. Some faults, such as worn contact pads, damaged membranes, or internal board issues, require tools and expertise to fix properly.
If your controller is still under warranty, you may want to contact Sony first. Otherwise, our ps5 DualSense controller button repair service provides a fast and reliable way to restore your controller to working condition. For £24.00, we inspect, repair, and return your DualSense controller fully tested.
This service is UK-based and includes a three-month warranty on the repair. It covers face buttons, the D-pad, PS button, and touchpad.
If you’re ready to get your buttons fixed, place an order and send in your controller. We’ll take care of the rest.
Be the first to review “PS5 DualSense Controller Button Repair” Cancel reply
From Instagram


Our Modifications
Some of our other modifications that are available to improve your custom ps5 controller
ClickSticks
The most comfortable "paddle" system out there. ClickSticks are extra buttons that are placed at the back of the controller. ClickSticks are a must-have for any serious gamer, enabling you to jump and slide-shot with ease.
I.A.S
The Interchangeable Analogue System allows you to customise your thumbstick height using a plug-in and pull-out system. It comes with a tall and short size that you can mix and match at any time.

Digital Triggers
Reduce the time it takes to pull the triggers by swapping them for a digital alternative. Digital Triggers turn your triggers in to something similar to a mouse click. Superfast and super efficient. Perfect for shooting single fire guns at rapid speed.
Individual d-Pad
Individual dpad buttons are a great addition to the controller. Never get involuntarily inputs again. up is up and right is right!
High Grade Grip
There isn’t any nice way to say this: Sweaty hands and plastic don’t tend to mix well. This high grade grip is going to add comfort and control where you need it most.
Removed Vibration
Dont need or want any vibration? Removing the vibration motors will give a big reduction in weight by 60g. You can feel the difference. Your hands will thank you.
Removed Adaptive Triggers
Remove the adaptive trigger motors to help reduce the weight of the controller by 20g. IT really makes a difference when playing for long sessions

Domed Thumbsticks
Our domed thumbsticks are for those that remember the PS3 controller. Bring back those days! Thumbsticks are quite an important but overlooked part of the controller. These clip into the I.A.S system.
DexiDisk
Dexi Disk is a removable rubber disc that increases the surface area for the thumb. It looks great on the controller whilst also helping with diagonal movements.

Colours
Dexi Disk is a removable rubber disc that increases the surface area for the thumb. It looks great on the controller whilst also helping with diagonal movements.
Build Your Own
The most comprehensive design options are available in our custom PS5 controller configurator.
Reviews
There are no reviews yet.